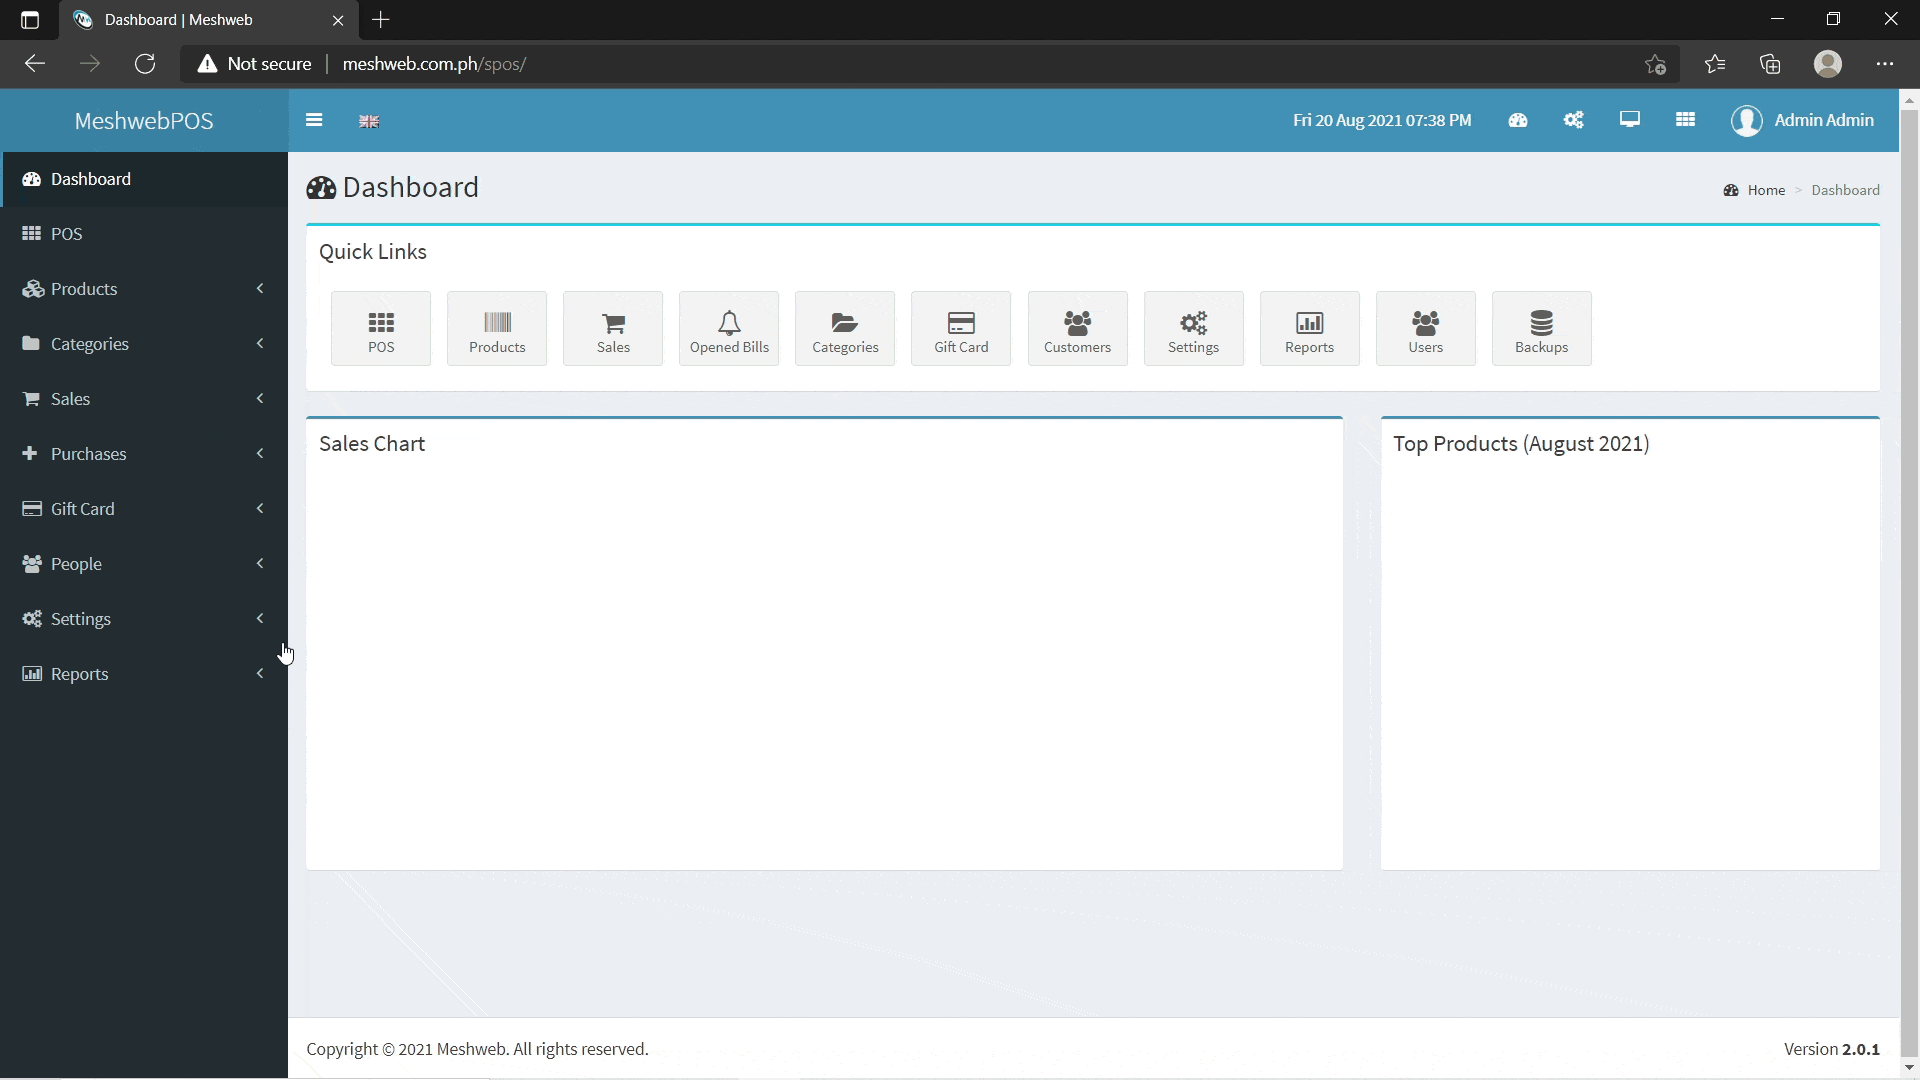
1. Dashboard
Hi! Welcome to Meshweb.
Here are the parts of the Dashboard.

Let's have a quick tour.

2. POS
Here is the POS or Point of Sales.

Let me show you how it works.

3. Products
3.1. List Products
This section shows the list of all the products being sold.

3.2. Add Products
To add products:
- On Products, select Add Products.
- Fill out the information needed.
- Select the Type of Product. Products can be Standard, Combo, or Service.
- Enter the Name of the product.
- Enter the product Code.
- Select Barcode Symbology. Barcode symbology refers to the encoding of information into the barcode image.
- Enter the product Cost and Price.
- Enter the Product Tax and select if the tax is inclusive or exclusive in Tax Method .
- You can also indicate Alert Quantity.
- Upload the Image of the product.
- You can also add Details.
- Press Add Products to save the product.

3.3. Import Products
This section allows the user to import a product on the website. A sample file must be downloaded on this page to be filled out with product's information. After filling out the form, upload the file and make sure it is a .csv file.

3.4. Print Barcodes
Generated bar codes will be displayed here. This shows the product barcode, code, and price. It is also print-ready.

3.5. Print Labels
Generated label will be displayed here, ready for printing.

4. Categories
4.1. List Categories
This section shows the existing product categories

4.2. Add Category
To add category:
- On Categories, select Add Category.
- Fill out the necesarry information.
- Enter the Code of the category.
- Enter the category Name.
- Upload the image of the category
- Press Add Category to save.

4.3. Import Categories
This section allows the user to import a category on the website. A sample file must be downloaded on this page to be filled out with category's information. After filling out the form, upload the file and make sure it is a .csv file.

5. Sales
5.1. List Sales
This section shows the list of sales.
5.2. List Opened Bills
This section shows the list of opened bills.
6. Purchases
6.1. List Purchases
This section shows the list of all the purchases made.
6.2. Add Purchases
To add a purchase:
- On Purchases, select Add Purchase.
- Fill out necessary information.
- Date will be auto-generated.
- Enter Reference.
- Select your Supplier on the dropdown list.
- Note if the purchase is received or not yet received.
- Upload Attachment.
- You can also add a Note.
- Click Add Purchase
6.3. List Expenses
This section displays the list of all the expenses.
6.4. Add Expenses
To add an expense:
- On Purchases, select Add Expense.
- Fill out necessary information (Date, Reference, and Amount).
- Upload Attachment.
- You can also add Note.
- Click Add Expense.
7. Gift Card
7.1. List Gift Cards
This section displays the list of gift cards.

7.2. Add Gift Card
To add gift card:
- On Gift Card, select Add Gift Card.
- Fill out necessary information (Card Number, Value, and Expiry Date).
- Select a color on the dropdown list for the Gift Card Theme Color.
- Click Add Gift Card.

8. People
8.1. List Users
This section shows the list of the users (admin and staff) of the website.

8.2. Add User
To create user account:
- On People, select Add User.
- Fill out all of the necessary information.
- Select the type of Group of the user. A user can be an Admin or a Staff.
- Enter First Name, Last Name, and Contact Number.
- Specify Gender.
- Enter Email and Username.
- Type your Password and confirm it by retyping your password on Confirm Password.
- Select account Status (active or inactive).
- Select your Store on the dropdown list.
- Check the Notify User by Email if you want to be notified once your account was created. Otherwise, uncheck it.
- Click Add User to create your account.

If you check Notify User by Email, an email will be sent to you confirming that your account was successfully created.

8.3. List Customers
This section shows all the customers.

8.4. Add Customer
To add a customer:
- On People, select Add Customer.
- Enter the customer's Name, Email Address, and Phone Number.
- Custom Fields are added for any additonal information.
- Click Add Customer.

8.5. List Suppliers
This section shows the list of all the suppliers.

8.6. Add Supplier
To add a supplier:
- On People, select Add Supplier.
- Enter the supplier's Name, Email Address, and Phone Number.
- Custom Fields are added for any additonal information.
- Click Add Supplier.

9. Settings
9.1. Email Protocol Setup
- On Settings, select Settings.
- Look for Default Email and enter your preferred default email.
- On Email Protocol, make sure that PHP Mail Function is selected.
- Click Update Settings to save changes.
- On Settings, select Settings.
- On Email Protocol, select SMTP on the dropdown list.
- Modify the SMTP User and SMTP Password.
- Click Update Settings to save changes.
- On your Gmail, tap your account icon and select Manage your Google Account.
- A new window will appear showing Google Account. On the left side navigation, select Security.
- Look for Less secure app access and turn it ON.
9.1.1 Setting up PHP Mail Function
To setup PHP Mail Function:

9.1.2. Setting up STMP Gmail
To setup SMTP Gmail:

9.1.3. Turn ON less secure app access on your Gmail Account.

9.2. Custom Theme Style
This section enables the user to change the theme of the system.

9.3. Customer Display Configurations
This section lets the user to modify display configurations.

9.4. Stores
This section shows the stores.
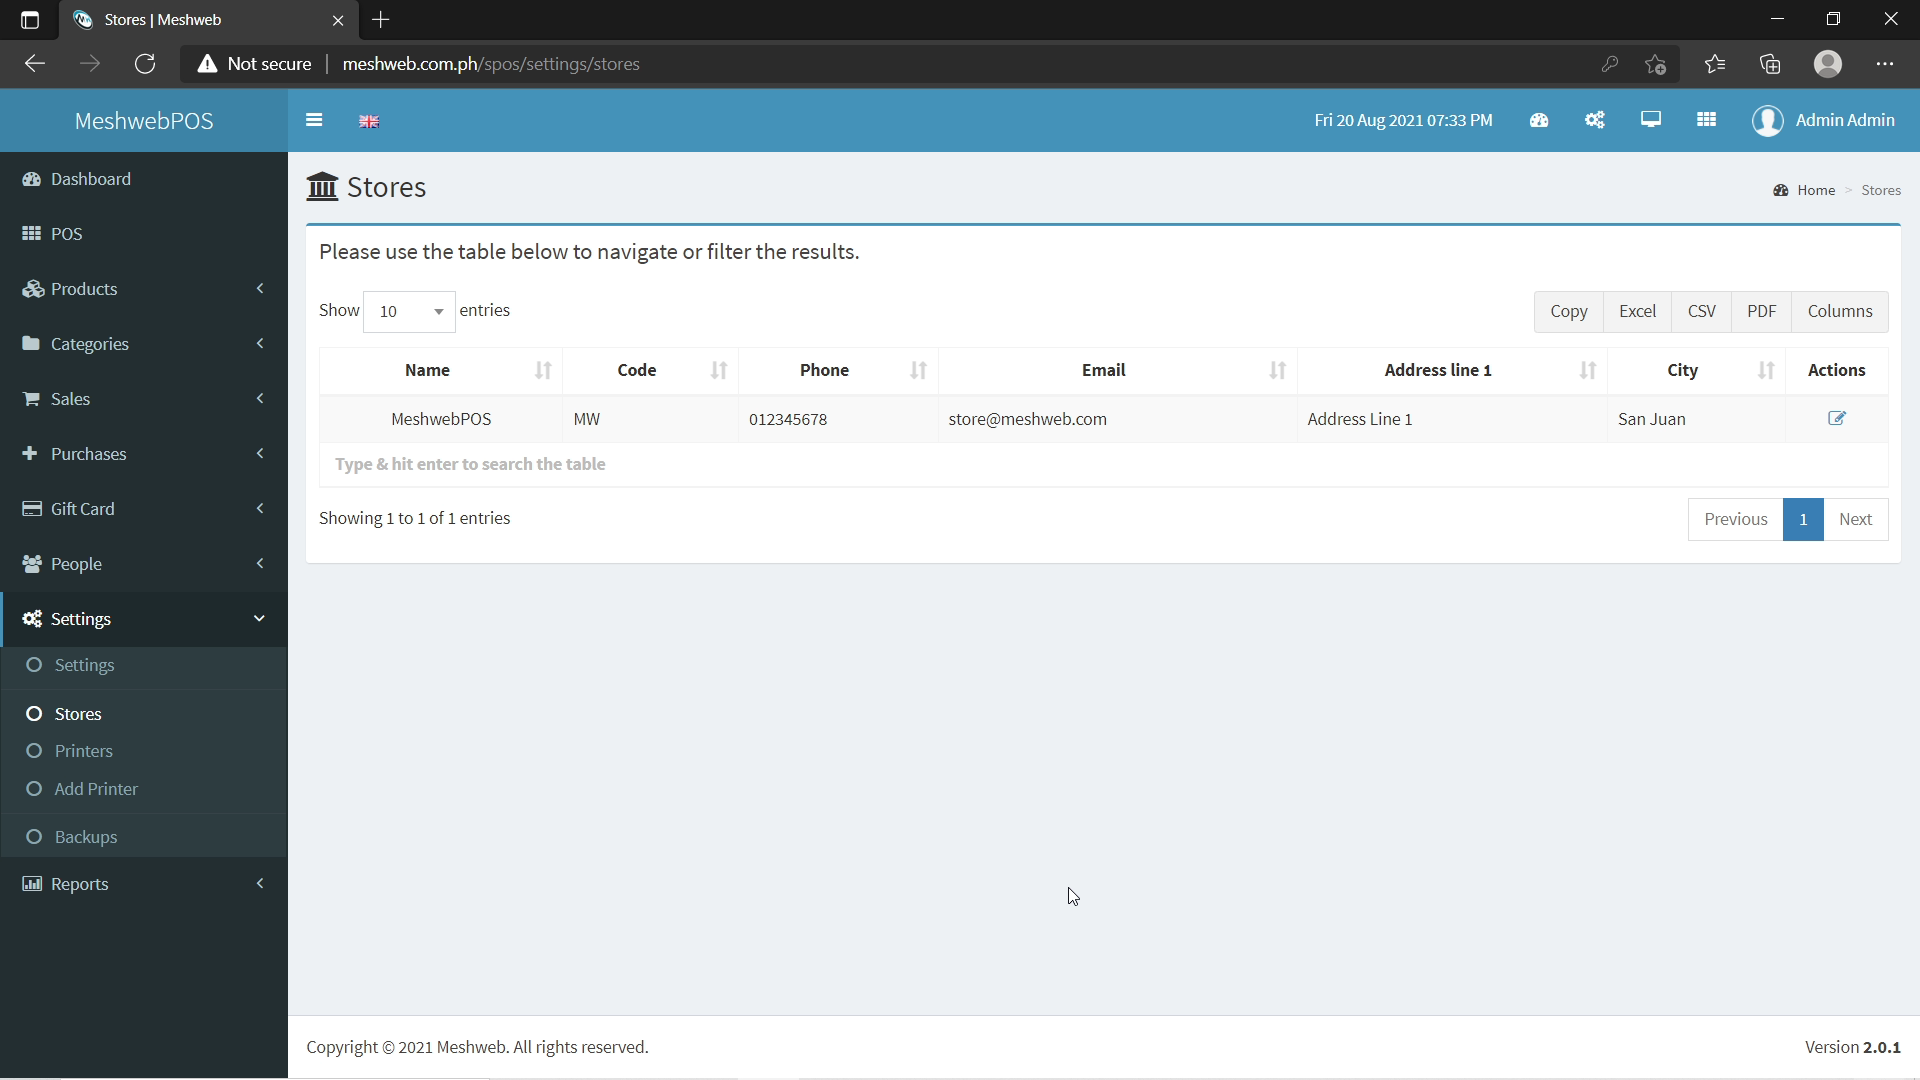
9.4.1. Individual Store Configuration
9.5. Printers
This section shows the printers.
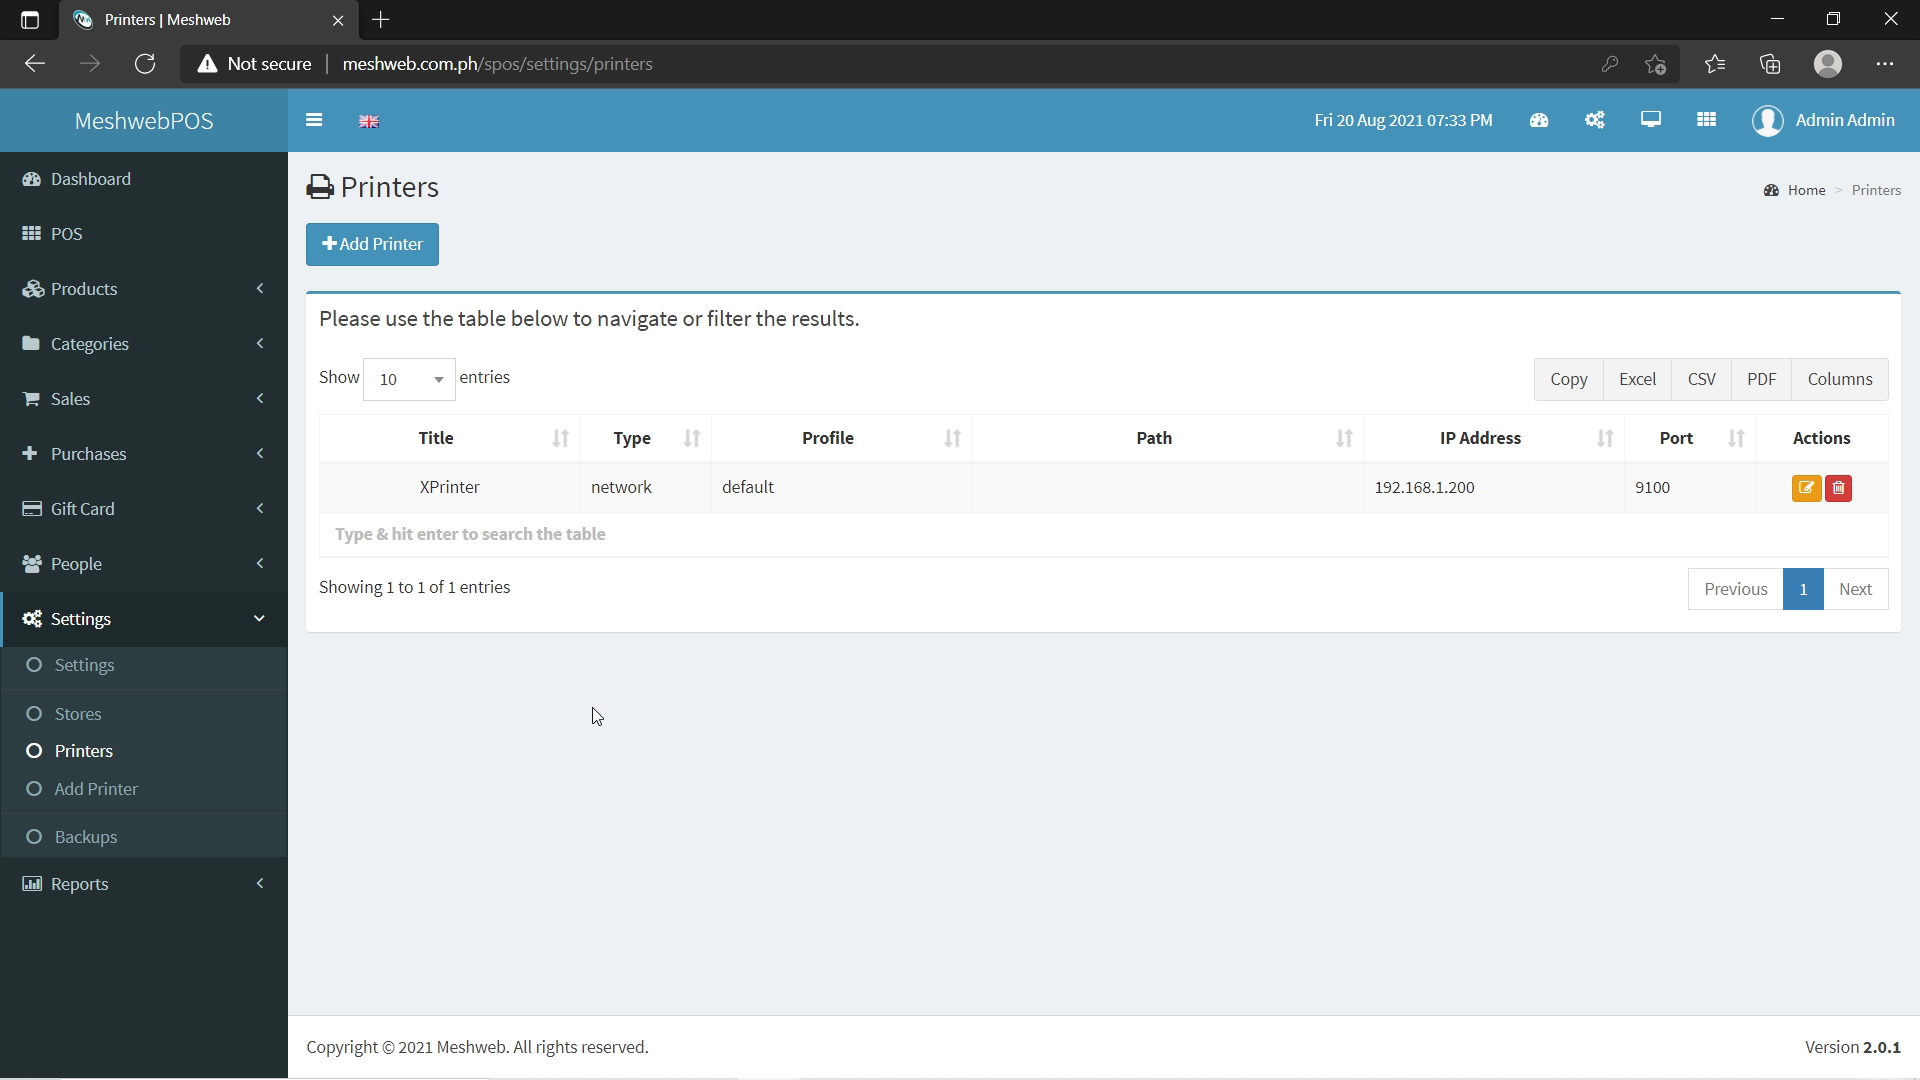
9.6. Add Printer
To add printer:
- Enter the Title of the printer.
- Select Type and Profile on the dropdown list.
- Enter the Characters per line.
- Indicate the printer's IP Address.
- Type the Port.
- Click Add Printer.

9.7. Backups
This section enables backing up the database .
9.8. Other Settings
This section shows important parts of the Settings.

Let's dive into it one at a time.

10. Reports
10.1. Daily Sales
This section shows the daily sales. It displays a calendar of days in a month. This section has four components:
- Sales Value
- Purchases Value
- Expenses Value
- Profit and/or Loss
10.2. Monthly Sales
This section shows the monthly sales. It displays all the months in a year. This section has four components:
- Sales Value
- Purchases Value
- Expenses Value
- Profit and/or Loss
10.3. Sales Report
This section shows the sales report.
10.4. Payment Report
This section shows the payments report.
10.5. Registers Report
This section shows the registers report.
10.6. Top Products
This section shows the top products of every month.
10.7. Products Report
This section shows the products report.